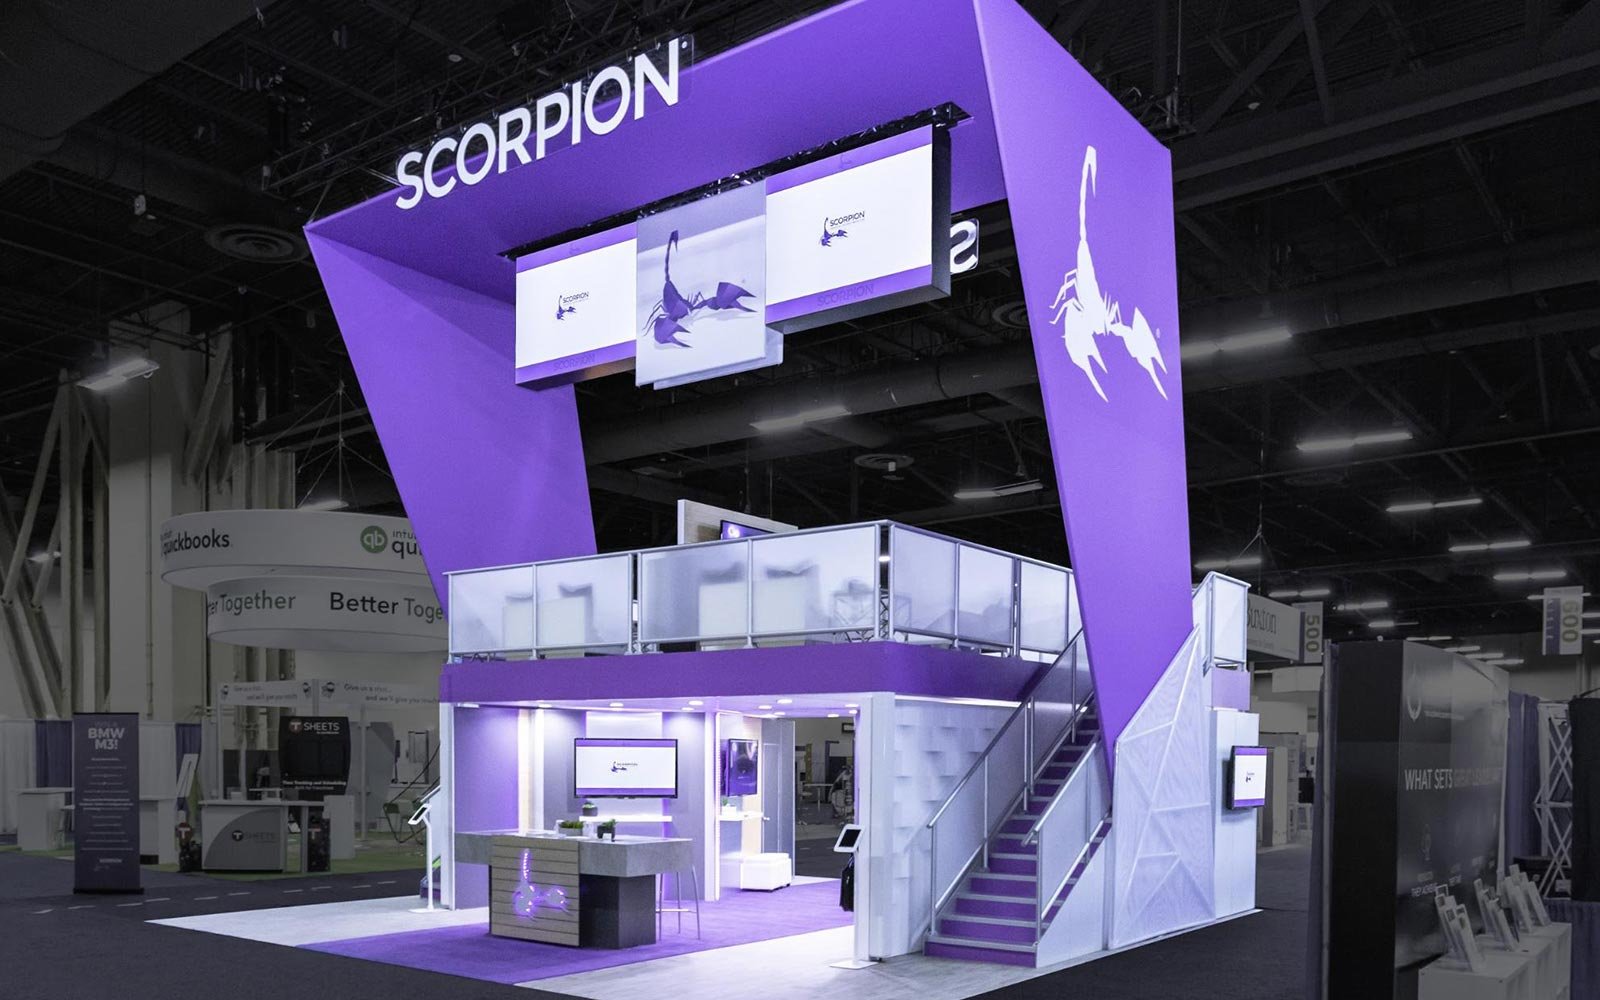
Whether you’ve only dabbled in trade show marketing or have numerous shows under your belt, you’re no doubt clear on the terms booth and exhibit. However, Branded Environments aren’t as straightforward, and the definition differs based on who you ask. While we can’t speak for others in the industry, here’s what the term means to our team here at Hill & Partners:
A Branded Environment is a uniquely customized space for exhibiting at face-to-face marketing events like trade shows. (Tweet this!) But the term means more than just building a booth—it includes the entire client experience and combines collaboration, design, technology, and dedication to create a space and place completely about your brand.
The best Branded Environments come from a carefully developed process, like the one we use here at H&P. We walk through this process below so you can get a good idea of what it takes to create these unique spaces.
Creating Branded Environments: A Collaborative Process
Our approach is different than most exhibit houses. For one, it’s highly collaborative from beginning to end. In addition, once the project is officially started, we assign an account manager and production team to handle all the details of bringing a design to life and ensuring all bases are covered. You’ll see specific examples of how this is beneficial as you read through the six steps below, and see how it supports our motto: Our People Become Your People™—because when you work with us, you get the benefits of an expanded team available to you 24/7.
Phase 1: Discovery
From our first touch point with you as a new client, we immediately start digging to see what makes your brand tick. We investigate your public image from your website and social presence, review your material collateral, and engage in preliminary discussions about your brand and general expectations.
The all-important next step is having a brand discussion. This is an in-depth meeting between our team and your team to gain a clear understanding of:
- Your brand
- Your goals for the show
- What worked (and didn’t work) at previous shows
- Design concepts
A good brand discussion goes past surface-level needs (such as storage space or workstation requirements); it’s about understanding your differentiating factors and objectives, such as determining whether the focus of the exhibit is supporting a product launch or raising brand recognition.
To note, most exhibit houses have this discussion in one form or another, but they typically limit meeting attendees to a few people from sales and the management team. We find that going a step further and including actual designers in the meeting makes a significant difference by eliminating the need to pass along information and, subsequently, reduces the risk of misunderstandings or miscommunications.
Besides, designers are the best people to talk about design—they know the right questions to ask and have the unique ability to translate client needs into elements of the attendee experience.
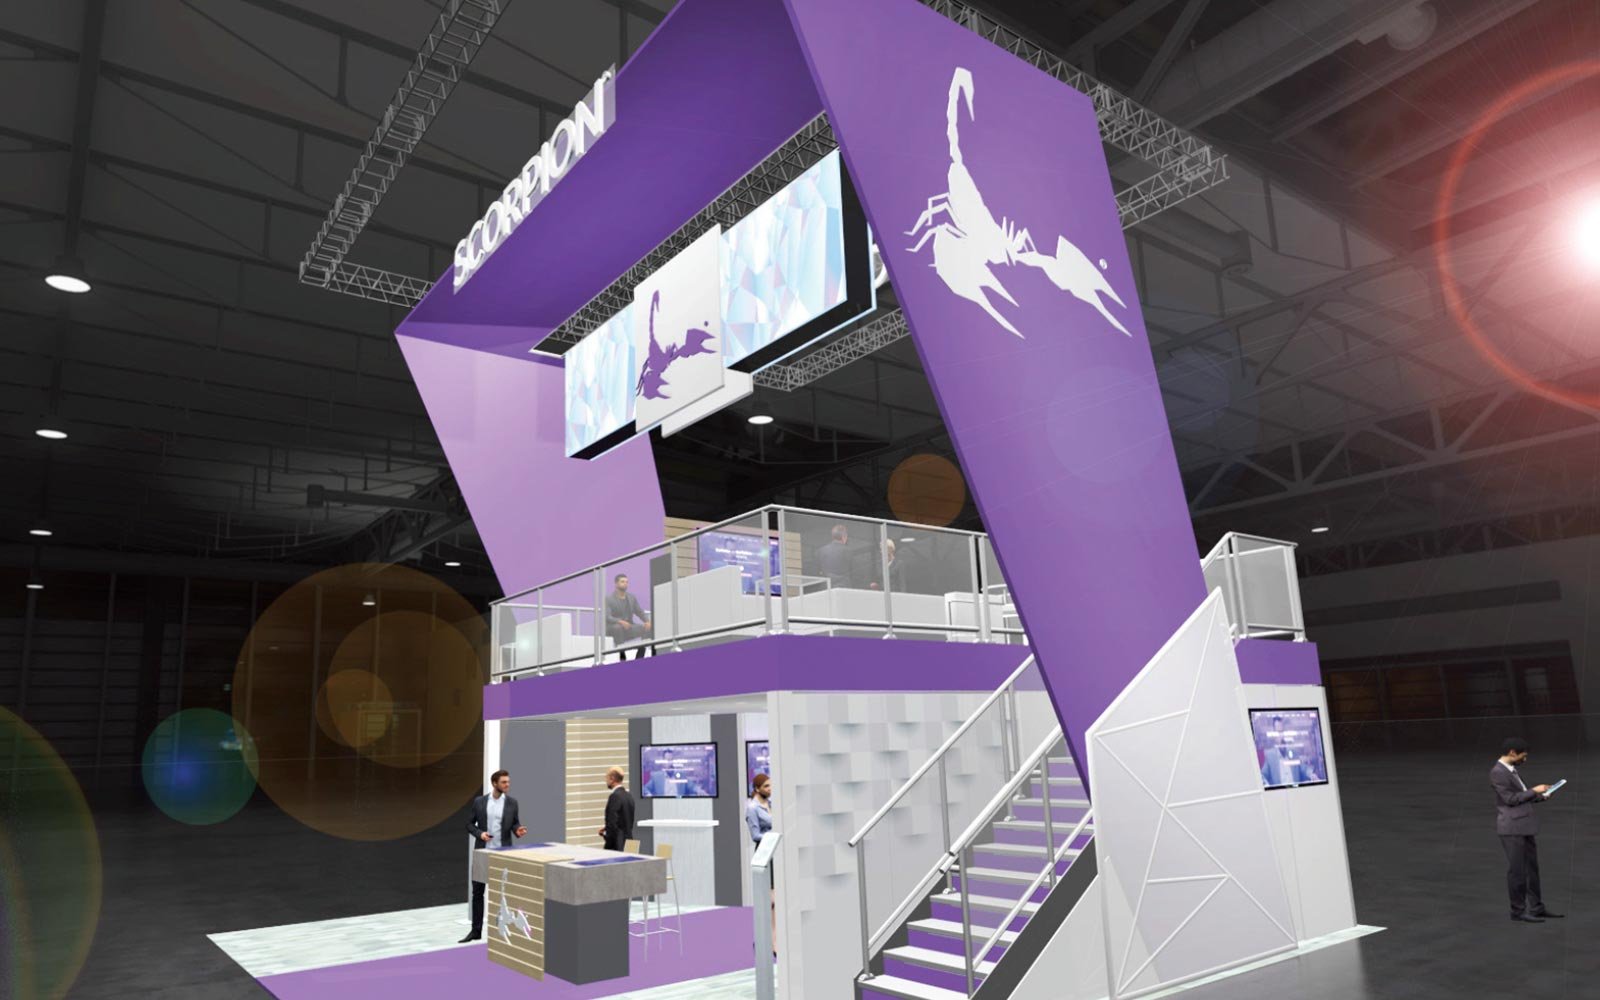
Phase 2: Design
With the insights gained from the brand discussion, we start the design effort. Instead of having you select something from a book of premade booths, our design, account management, and estimation teams collaborate with you to create a uniquely customized space. We’ll design renderings based on the brand discussion, ask for your feedback, and revise until you’re satisfied.
Once you approve the design, you’ll get a proposal that includes a not-to-exceed fee—this fee won’t change regardless of cost variances throughout the life cycle of the project, such as overages on labor, late-delivery fees, etc. This is rare among exhibit houses, but our well-honed process and solid vendor relationships afford us the opportunity to offer it.
With your signoff on the proposal, we assign you an account manager, who will be your go-to resource regardless of geography, along with an account team for graphics, CAD work (turning renderings into usable engineering drawings), fabrication, and more.
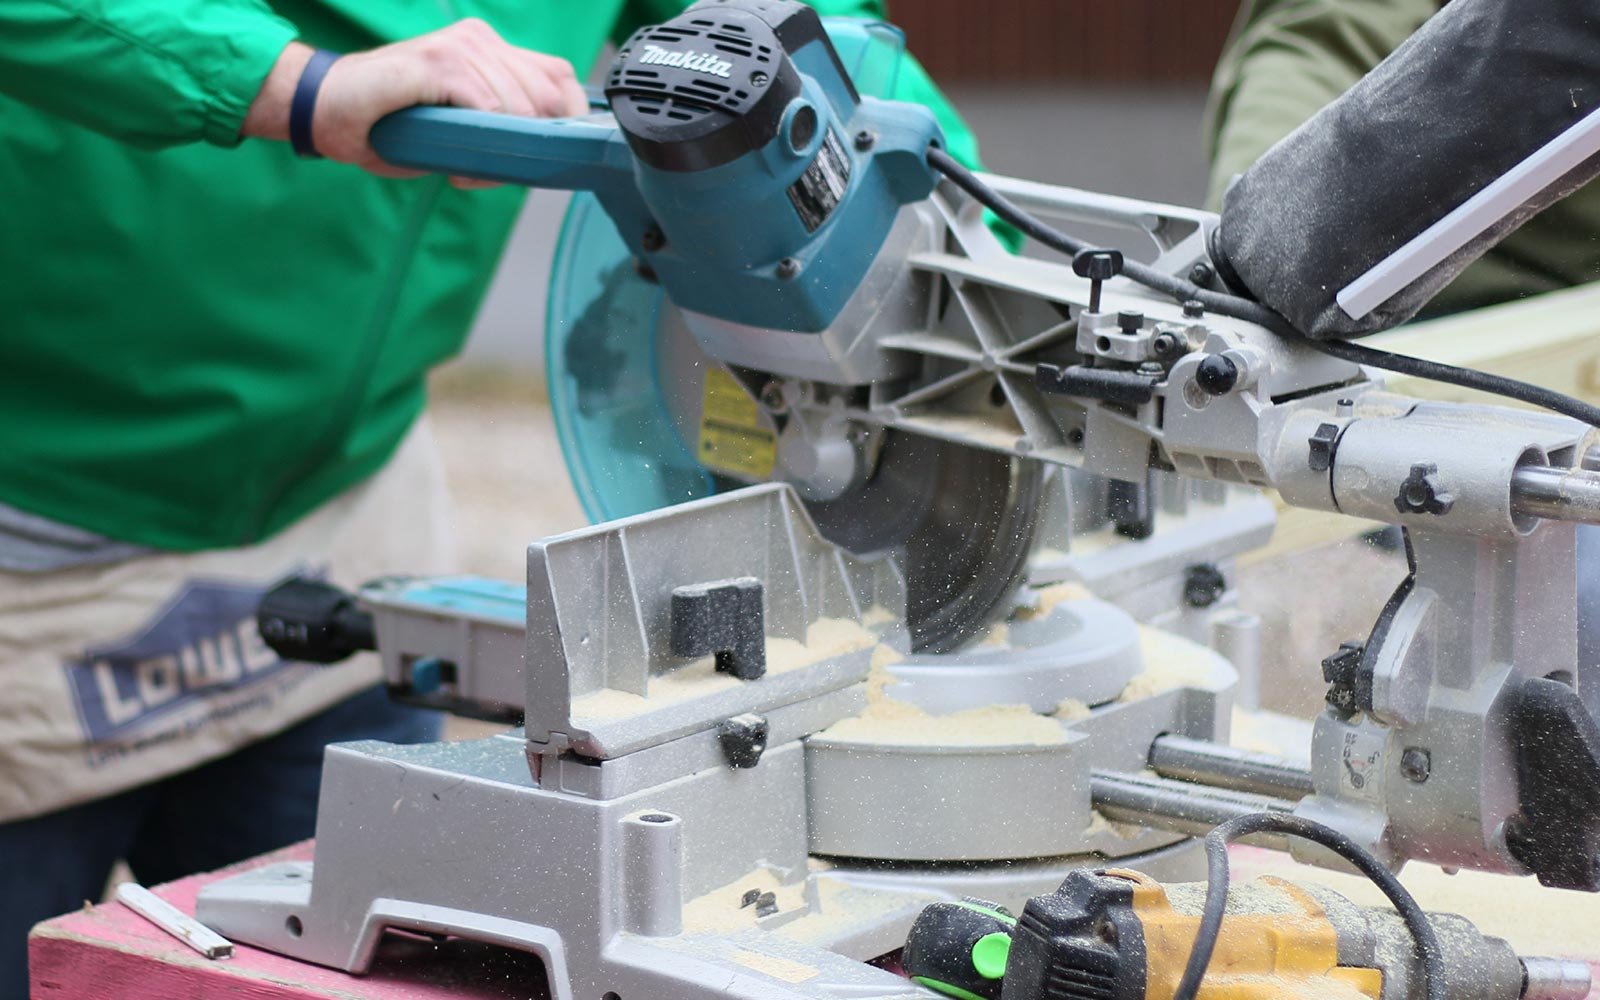
Phase 3: Production & Fabrication
This is the point where the handoff happens—we take responsibility for bringing the vision of your Branded Environment to life. If you’re accustomed to pitching in from working with other exhibit houses, you’ll find you have more time on your hands with our process. Use it to devote more energy toward your other responsibilities, like making arrangements for your staff to get to the show.
We’ll of course loop you in for needed input and, if you’re more hands-on, we even offer onsite visits to one of our warehouses to see how your space is coming along. If you’re like many of our clients during visits, you’ll note how closely the actual space aligns with the original rendering—from color to sizing and other details. This provides peace of mind concerning your space, which means one less thing to worry about as show day nears.
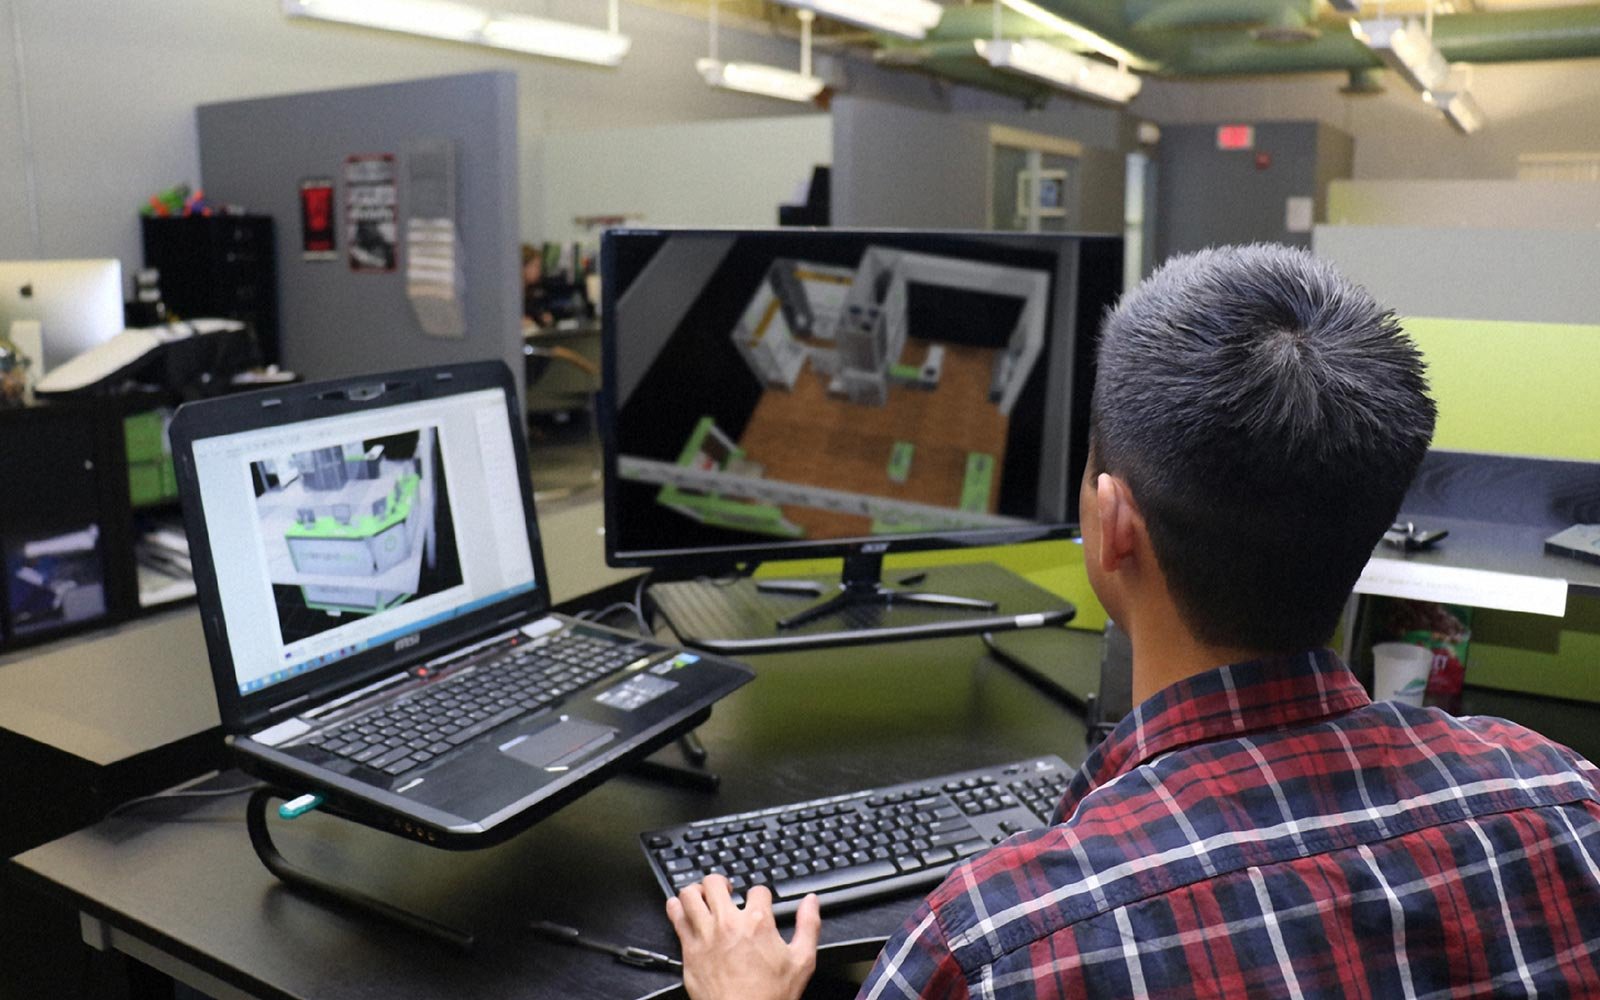
Renderings are sent to our CAD designers to create setup drawings and produce real measurements for materials. Our graphic designers use these drawings to make graphic elevations (essentially a flat version of each section of the space). They also work with you (and your graphic designers if you have any) to create graphics for all areas of the space and replace placeholder graphics from the renderings. The designers will get printed proofs and use specialized lamps to accurately check color.
CAD drawings are also sent to the production team so they can meet with fabricators to walk through and explain what’s expected, specs/sizing, color, materials (e.g., cabinetry, paneling, etc.) and other details to ensure the vision of the space is brought to life as intended.
Want to get started on your customized space? Let’s start a discussion about your next show.
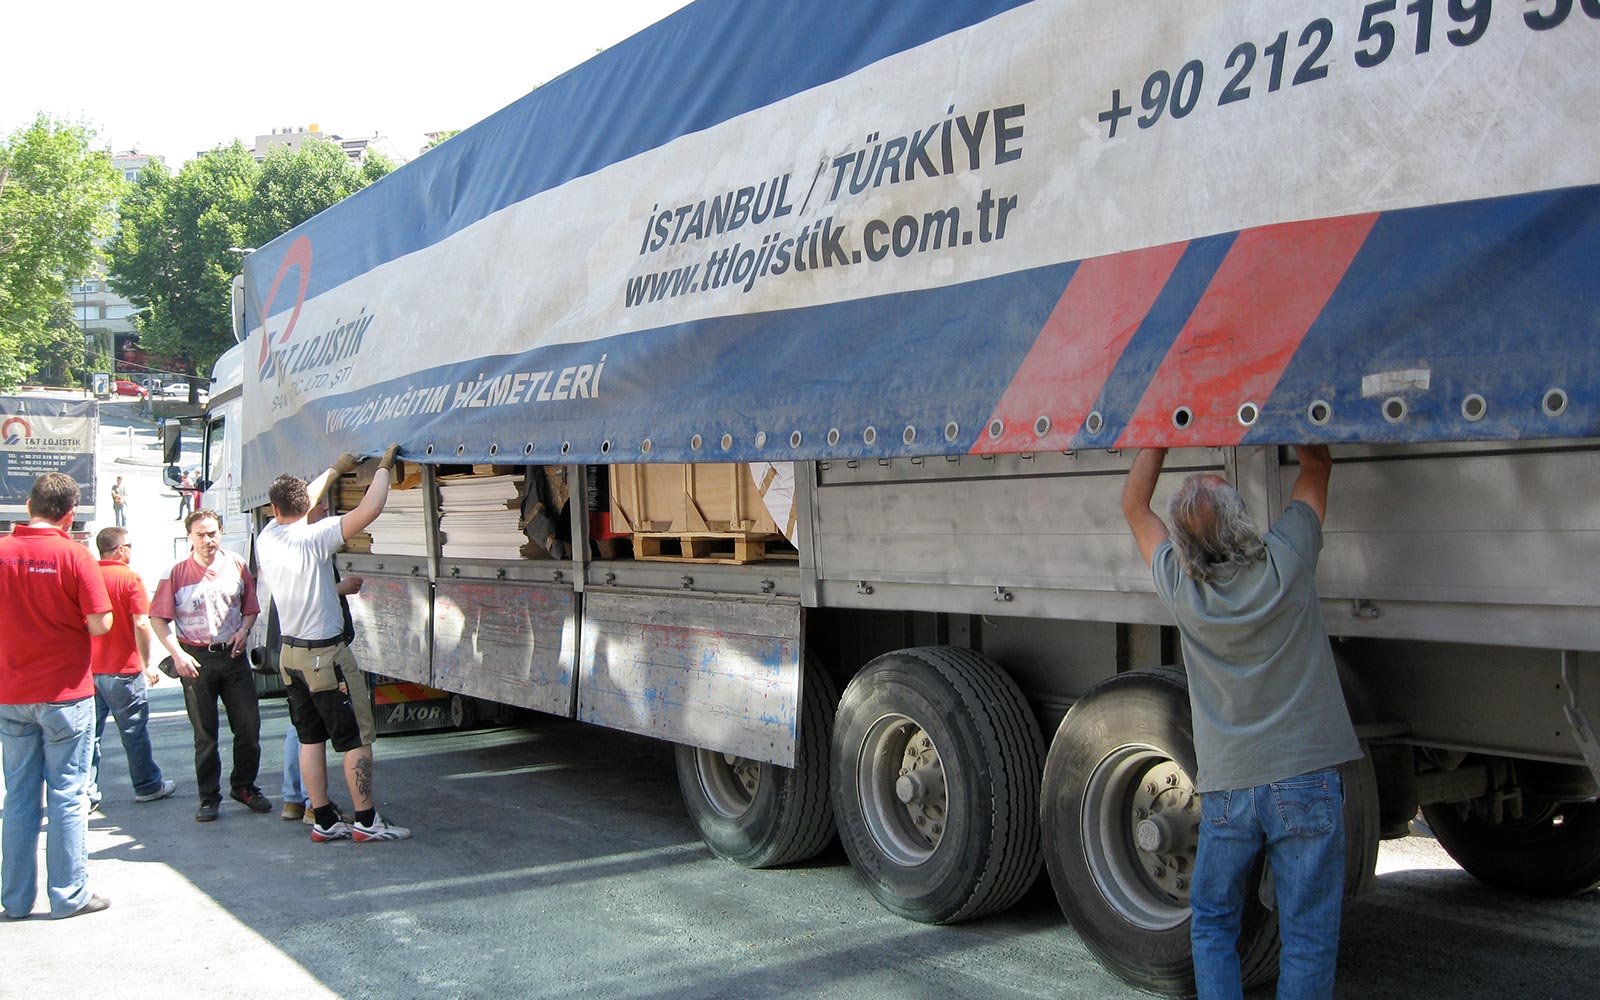
Phase 4: Transportation
Next, we focus on getting your customized space to where it needs to be. The logistics of transporting everything to the show can be complex, but we’ve simplified it as much as possible. For example, we have long-standing relationships with several logistics companies to get vendor-supplied materials to us efficiently. We also centralize the storage aspect, keeping hardware and exhibit componentry (rental panels, hanging signs, etc.) at one of our warehouses and ship from there to your chosen show.
If you have additional items beyond the space we’ve created—such as giveaways or demo equipment—you can ship it to our warehouse, and we’ll handle getting those items to the show as well.
Our goal is to get everything finished early enough that the exhibit can be placed in the show’s advance warehouse. This ensures that we have plenty of time to address any last-minute issues that may arise, and avoids costly fees shows are known for charging when Branded Environments are shipped directly to the show site.
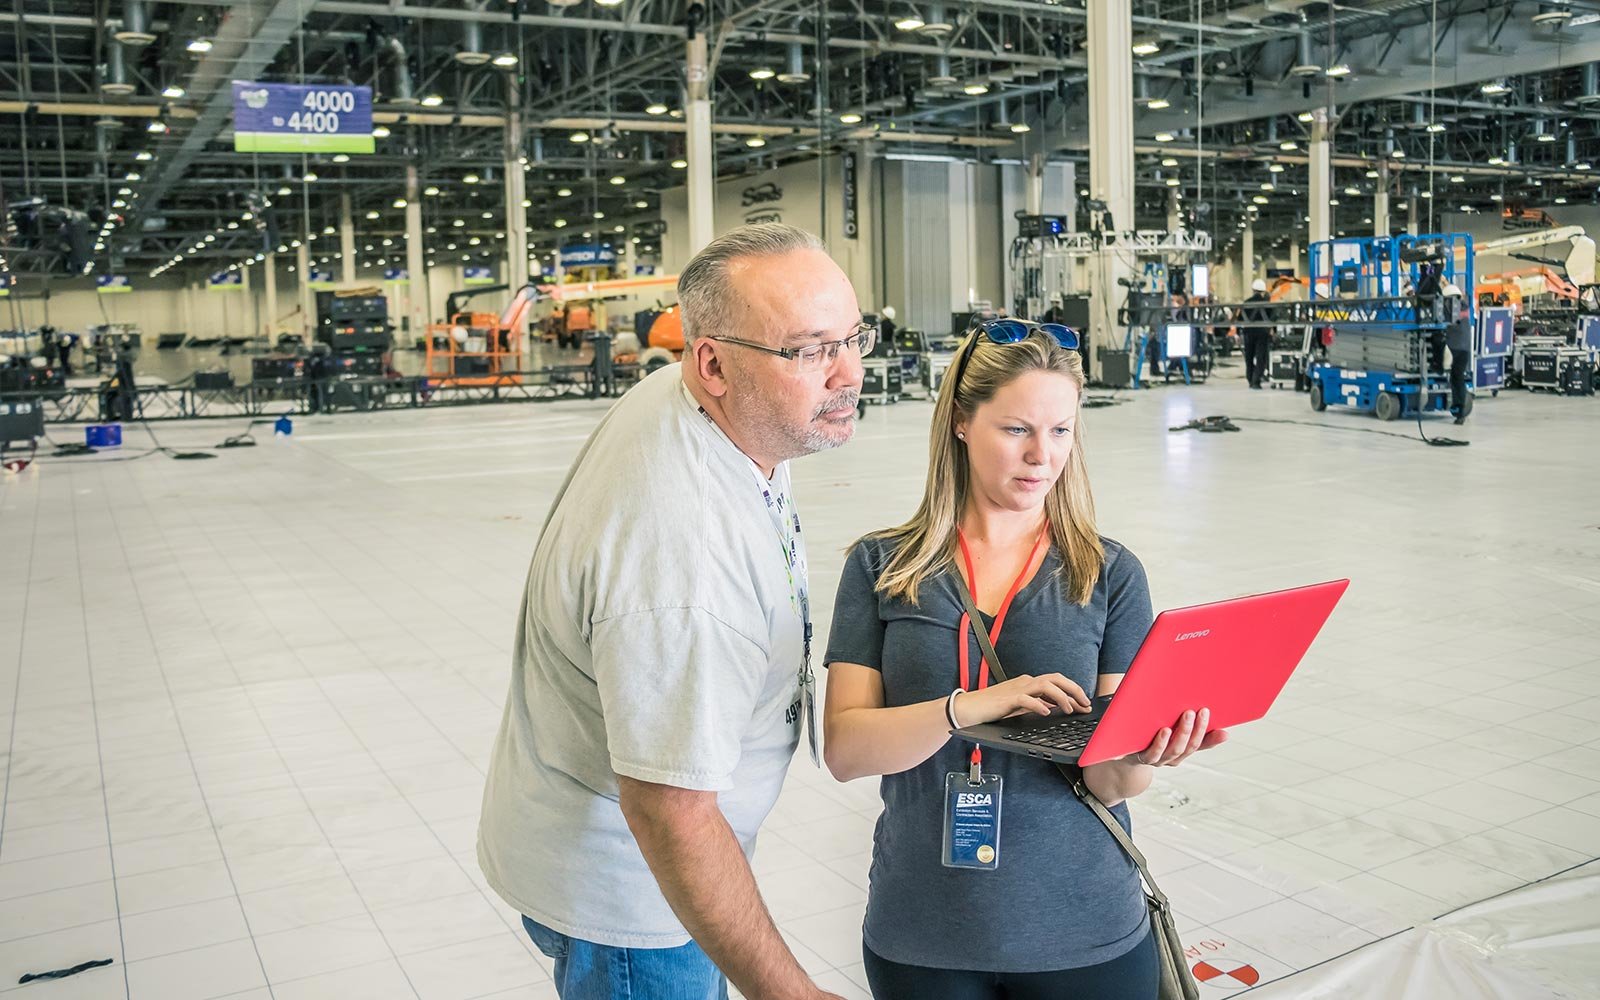
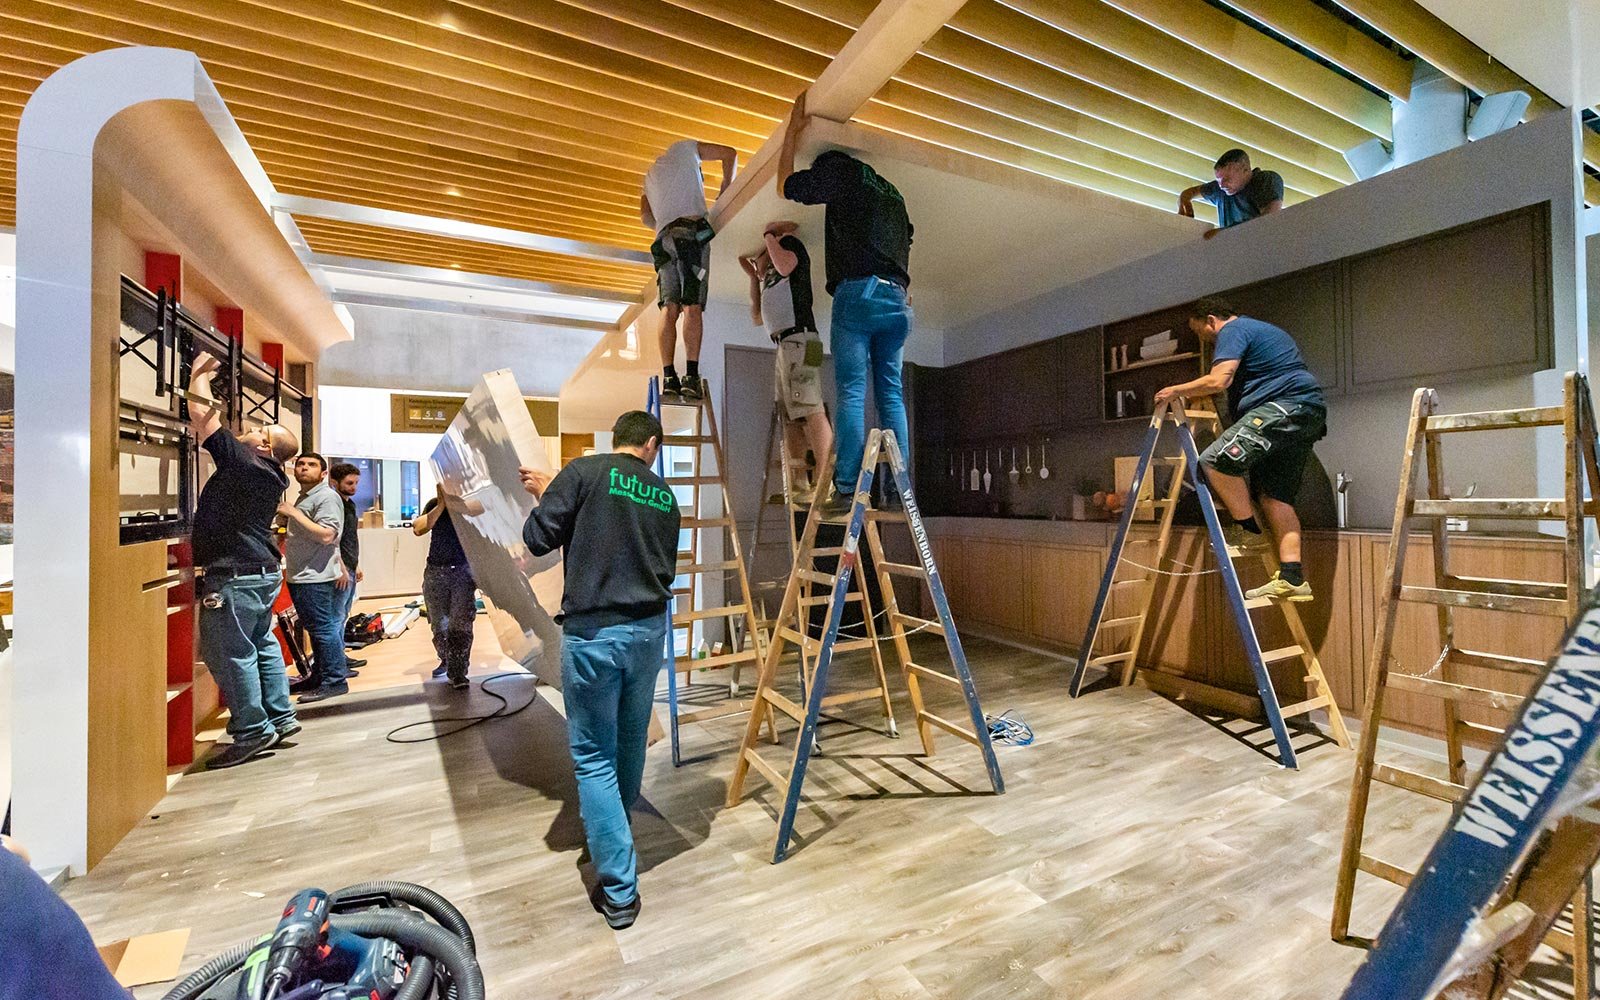
Phase 5: Install & Dismantle
In the days leading up to the show, we start putting together your space at your designated spot. Your account manager will be onsite with you for the duration of the show, personally supervising both the installation and dismantling of your space. This includes inspecting and verifying the incoming freight from the advance warehouse, along with coordinating with the show to address any action items (e.g., filling out appropriate forms). Their focus is on ensuring the build is going according to plan.
Your account manager will also help you with your responsibilities, such as setting up demos, loading literature racks, packing t-shirts into display cases, and troubleshooting technical difficulties or electrical issues. In addition, they can help address unforeseen needs—for example, if you have a last-minute desire to include a new product that’s launching earlier than expected in your space, or you want to throw an offsite party and need to find a venue. They’ll be available in person or by phone to ensure your exhibition is stress-free.
After the show is done, your account manager will manage the dismantle effort. They’ll help you pack up your items (demo equipment, collateral, etc.), and ensure the teardown is handled appropriately, and equipment and hardware are packed securely. If you have another show soon after, they’ll also help you determine the most efficient way to get your booth to its next location.
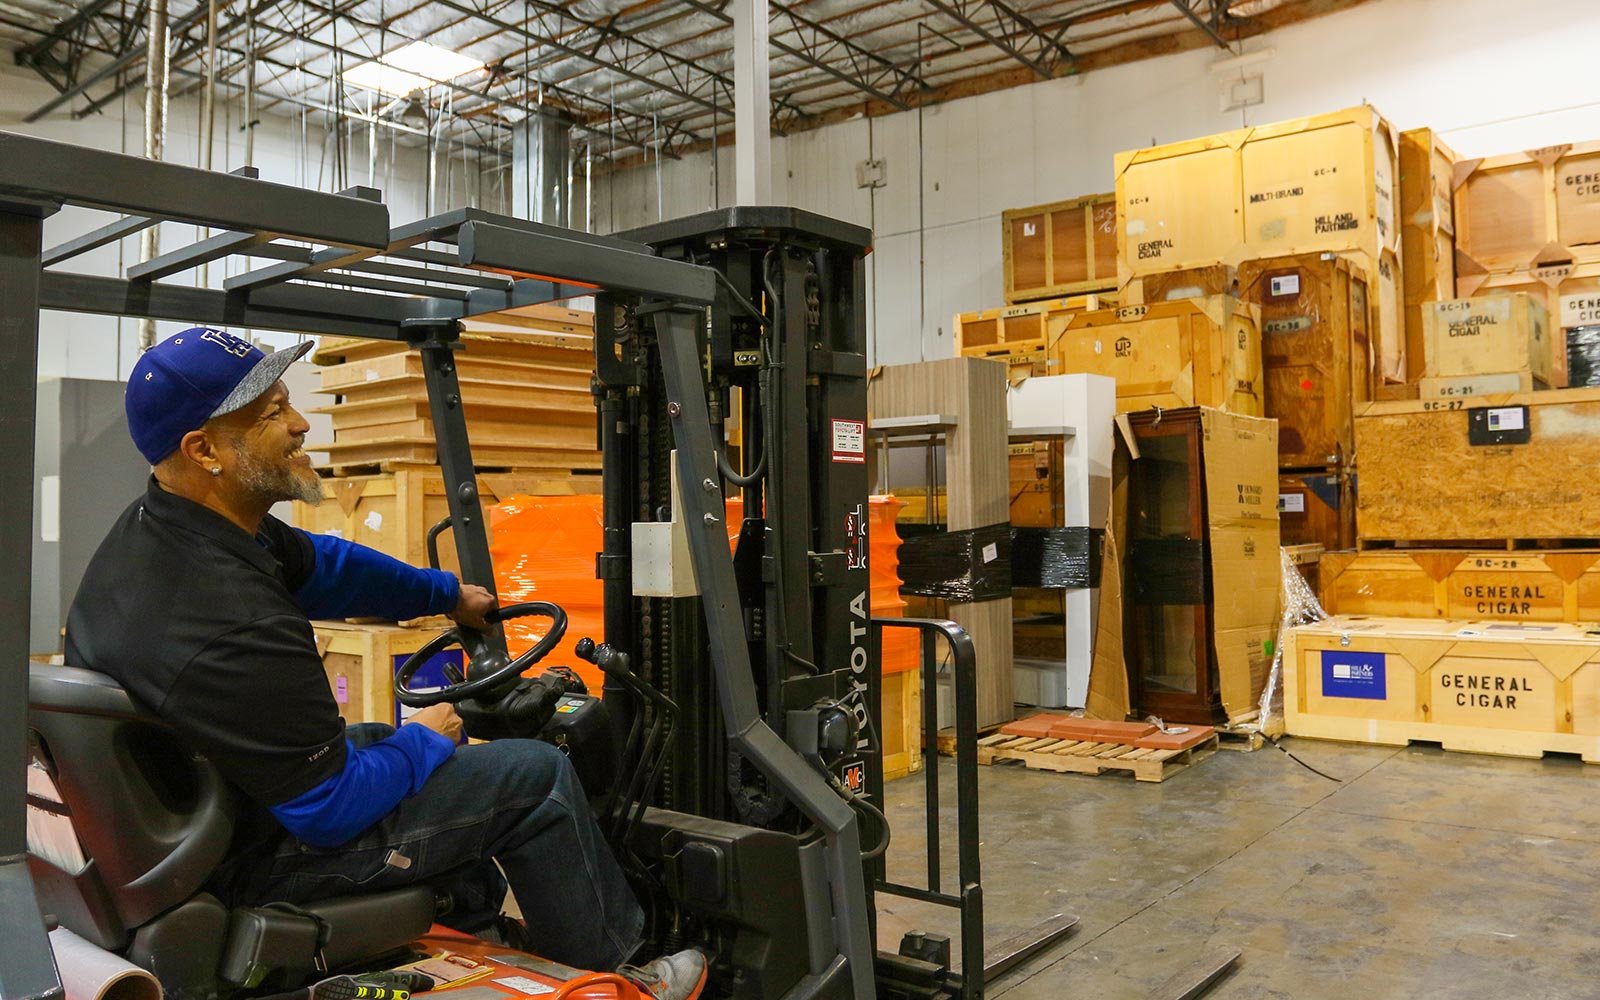
Phase 6: Storage
Your Branded Environment is a valuable brand asset, and that means storing it appropriately. We store it in one of our temperature-controlled warehouses domestically or abroad. They all have ample square footage and are well organized to maximize efficiency.
All Branded Environments are clearly separated by client so that come your next show, your space is ready to be shipped out quickly.
Want to find out what it would take to create a Branded Environment for your next show?
Reach out to us. We’re more than happy to answer questions about our process, or dive right in and talk about creating a customized space just for you.
Topics: Featured, Branded Environments